

DIY product photography on a budget
People make purchasing decisions based on what they see, and great quality photos of a product can make the difference between them choosing a competitor’s product over yours.
The question then is: how do we photograph our products that will be able to compete out in the market? Without expensive equipment and a low budget, how do you do it?
You can take your own high-quality product photos with a cell phone, if money is tight.
You can have the most expensive camera in the world, but that alone will not result in good photos. The most important part of a great product photo is the setup, and this guide will help you understand the science behind the art of good photography, all on a low budget.
There are 4 key components that go towards ensuring a smooth product shoot and proper setup. They are:
⋅ Shooting in a manageable space
⋅ Understanding equipment and camera quality
⋅ The proper way to light a product
⋅ Appealing to the senses
Shooting in a manageable space
The space you use comes down to the size of the product you’ll be shooting. You’ll need to make sure the space is neat, clean, and free of dust. A flat, solid surface is preferred for product shoots but not a requirement.
If there’s a specific look you are going for, you can coordinate the surface to compliment your product. Different surface types include wood, metal, tile, etc. Play around with the look and feel you are trying to capture. Or keep it simple and clean and stick to white.
When setting up your shooting space, be sure that there is no visible dust or grime on your surface, and more importantly, on your products. The last thing you want to do is use a used product for your photoshoot unless there is a very distinct look you are going for. Play it safe and stick to new products only.
Understanding equipment and camera quality
You can still get good product photography without expensive equipment and tools when using your high-quality phone and other equipment you have at home.
Modern smartphones let you capture crisp photos, with many currently on the market having 12mp cameras. That’s a good baseline for smartphones today, and greater megapixels do not always mean better images.
For social media, many platforms compress your images automatically. This leads to a slight loss in quality. Regardless, It is best to have a high-quality image that you can use in multiple places, such as your website or even in print.
Not only is the photo quality of a smartphone high, but you can directly edit your photo with your mobile device. There is little need to purchase and learn how to use expensive software like Photoshop. You can edit your photos natively through your camera application, but other apps exist to increase your editing capabilities. Popular editing apps include Lightroom and Focos.
The proper way to light a product
Light is what makes your products look clean and beautiful; without proper lighting, your products will look dull and bland. To capture fantastic photos, you’ll need to understand a few lighting basics.
You have to have at least three-point lighting. You don’t need to buy any expensive lights, use what you already have at home. Little lamps or LEDs will give you soft, beautiful lighting.
Natural lighting is another great option, but more difficult to work with as the amount of light you receive depends on the time of day you’re shooting, the weather, and the number of clouds in the sky. If you’re shooting multiple products, the natural light will look different for each shoot and your photos will not match.
Lighting will make your product look better on camera and minimize any harsh shadows that may detract from your final photos.
Certain phone apps will allow you to manipulate all aspects of your photos while you are shooting, which can save you a lot of editing. A popular app is Focus, which allows you to change your product photos’ depth of field, texture, and lighting. You have access to control every aspect of your photos in real-time.

Appealing to the senses
Product photography is a delicate craft. As mentioned earlier, how you capture a product photo and the look and feel customers get from looking at it will influence their interest, or disinterest, in your product.
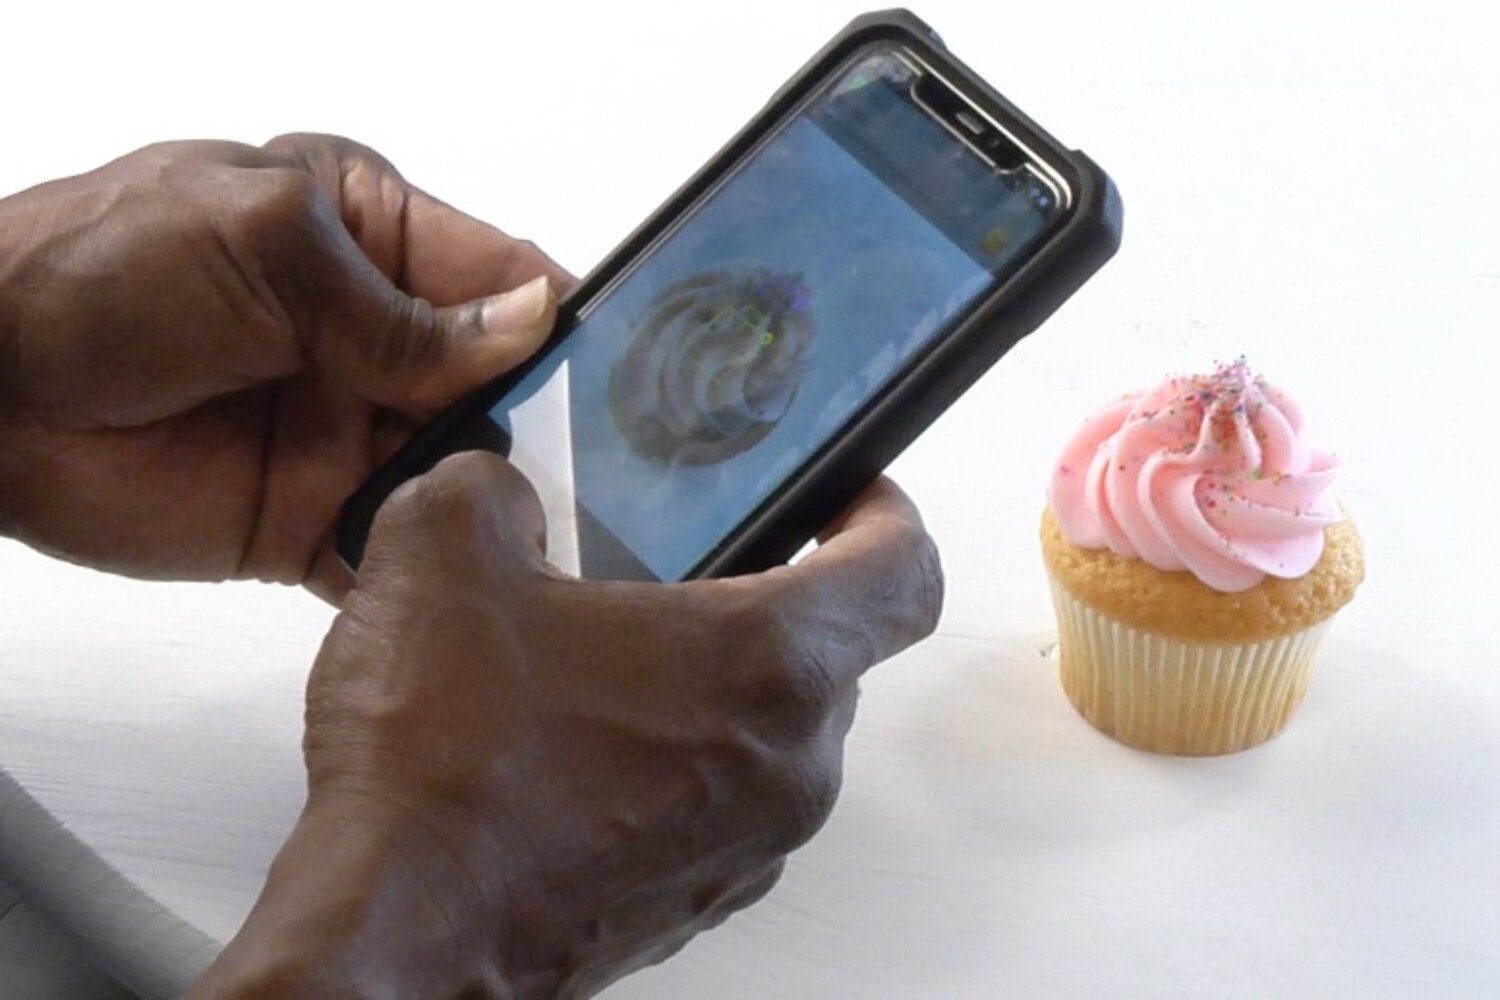
That’s where the appeal to the senses comes in, particularly taste. Take food, for example. Depending on the food, you’ll want it to look soft and fresh and textured. You want people to perceive that your product has flavor.
Bringing the product as close to the camera as possible will allow you to capture more details; just make sure the product remains in focus as you pull it closer to the lens. Having your product closer to the camera will also reduce any spillover from the background if you used a colored background, which can ruin your photos if done unintentionally.
Conclusion
Shooting product photography doesn’t have to be expensive or difficult. While expensive equipment certainly helps, not knowing how to set up your product properly will still result in poor photos. Even on a budget, you can use many of the tools and equipment you have at home to take great photos. Great product photography comes down to your understanding of lighting, how to set up your workspace, appealing to your customer’s senses, and knowing how to use your smartphone camera.
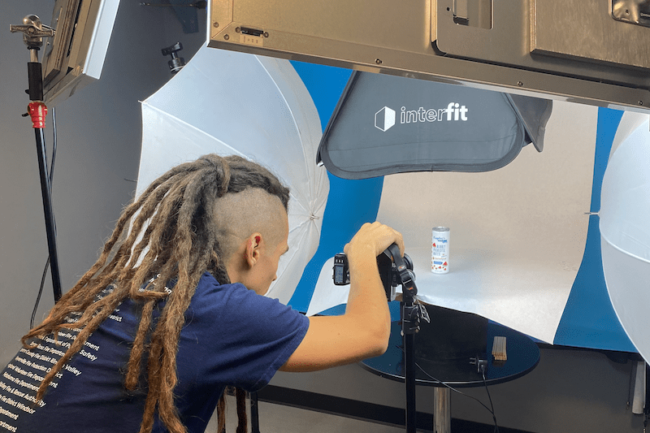
Not sure if you can create an ideal space at home? Consider checking out our Tabletop Studio, an affordable and compact space perfect for product shoots, stop motion, and headshots.
More of a visual learner? Watch as Elias Acosta, film director and product photographer, breaks down his process of taking great product photos. You can watch it below!
