
Professional DIY YouTube Backgrounds: 4 Tips from Set Designer Lauren Fehlhaber
When you’re creating content for YouTube or holding a meeting on Zoom, your background will play an integral part in how professional you look. It’s all about presentation and personal branding, and a great-looking background will help convey that to your viewers.
Lauren Fehlhaber, Set Designer at The Film Hub, walks us through setting up and creating a professional DIY background for YouTube videos and Zoom. There are four key areas to focus on: production design, space planning, background set dressing, and lighting.
You want to ensure that you’re putting your best foot forward and presenting a professional image to your viewers. Luckily, with some planning, you can up your production value and create a great DIY background.
Production Design
Before you set out to create a specific look for your show, you need to define who your target audience is and how you intend to present yourself to them. This is called branding and will inform all aspects of your content creation, including the look and feel of your background, your color palette, how you communicate and deliver content, what content you create, and what kind of set dressing and furniture you use.
Think of your favorite YouTube channels and content creators. How did they draw you in? Why do you watch their content in the first place?
Everything from their YouTube profile picture to their background and design elements like lower-thirds, graphics, and music follow a consistent brand. Be mindful and purposeful with your content.
Creating a professional-looking YouTube backdrop starts with a strong foundation in production design.
Let’s say you do video book reviews.
Your goal with your content is to create a community that is inclusive, inviting, and friendly. You want to create a dialogue with your viewers rather than being a definitive voice on a subject. Your set and production design should reflect this.
The easiest way to brand your visual content is through color, and you can use color to great effect in your background and set design. Lauren recommends using 3 to 4 colors in your color palette.
Warm, bright color palettes, comfortable furniture, and plant decor can all lend themselves to creating an airy, uplifting environment for your video book reviews.
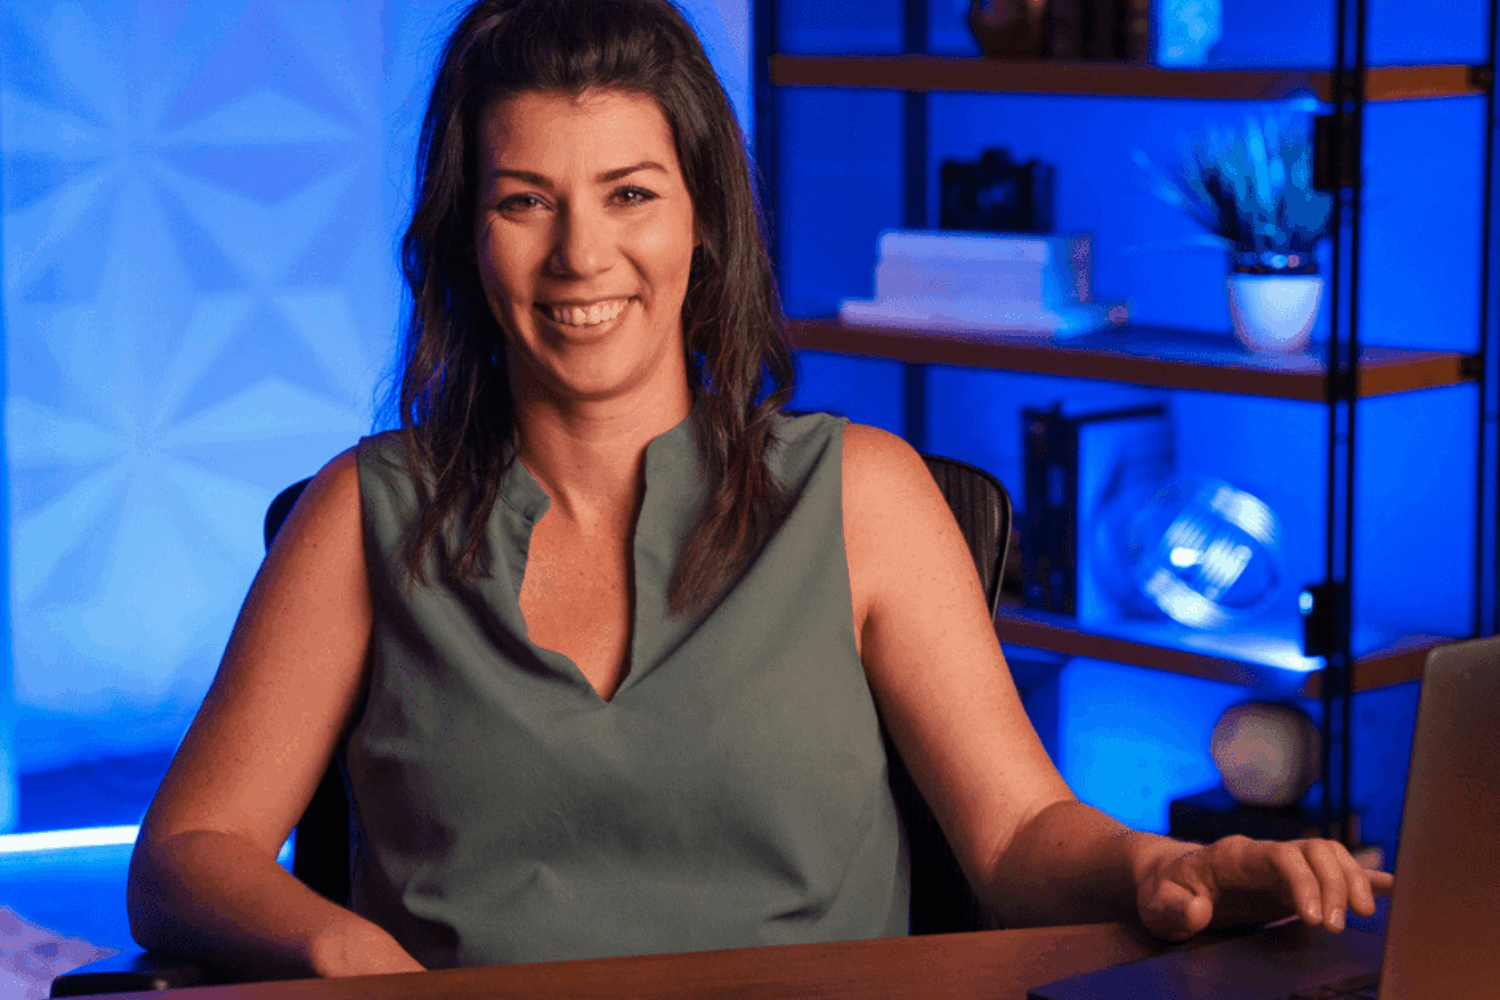
Our goal with the example set we built was to create a backdrop that many prominent YouTubers currently use – a masculine, dark, contrast look with LED elements. We chose white, green, and blue with gold accents and built upon that foundation.
Space Planning
Now that you have defined your target audience and personal brand, it’s time to consider what space you will be using to create your backdrop.
Most people don’t have the luxury to dedicate an entire room to creating a backdrop, but that doesn’t mean you can make a great YouTube or Zoom backdrop.
How often have you joined a Zoom meeting where the host sits against a white wall? Looks pretty bland, right? But with a little effort, you can make your space work for you and get creative with what you have.
Instead of getting up against a wall, Lauren recommends shooting in a corner. By shifting your camera into the corner, you can make your space look larger than it already is while adding much-needed depth. For proper depth of field, you’ll want to stand at least 6 feet (8 preferred) away from the corner/wall to capture the best depth possible on camera.
Background Set Dressing
Now that you have considered your space, it’s time to add some design elements and Set Dressing.
When painting your walls, the rule of thumb for set designers is to go with flat paints. There are different sheens to choose from, such as flat, semi-gloss, and glossy, but flat will give you the best control when it comes to lighting. Other sheens will reflect and bounce light, making it difficult to get the right look when dressing your set.
And paint isn’t the only way to add visual flair. Lauren recommends adding some interest to your backdrop through textures and meaningful shadows.
3D panels are a great way to add texture to your walls. They can be expensive, so you can also rely on molding if it’s beyond your budget. Molding can be cut easily and pins to the wall in a cool pattern, allowing creativity in your designs.
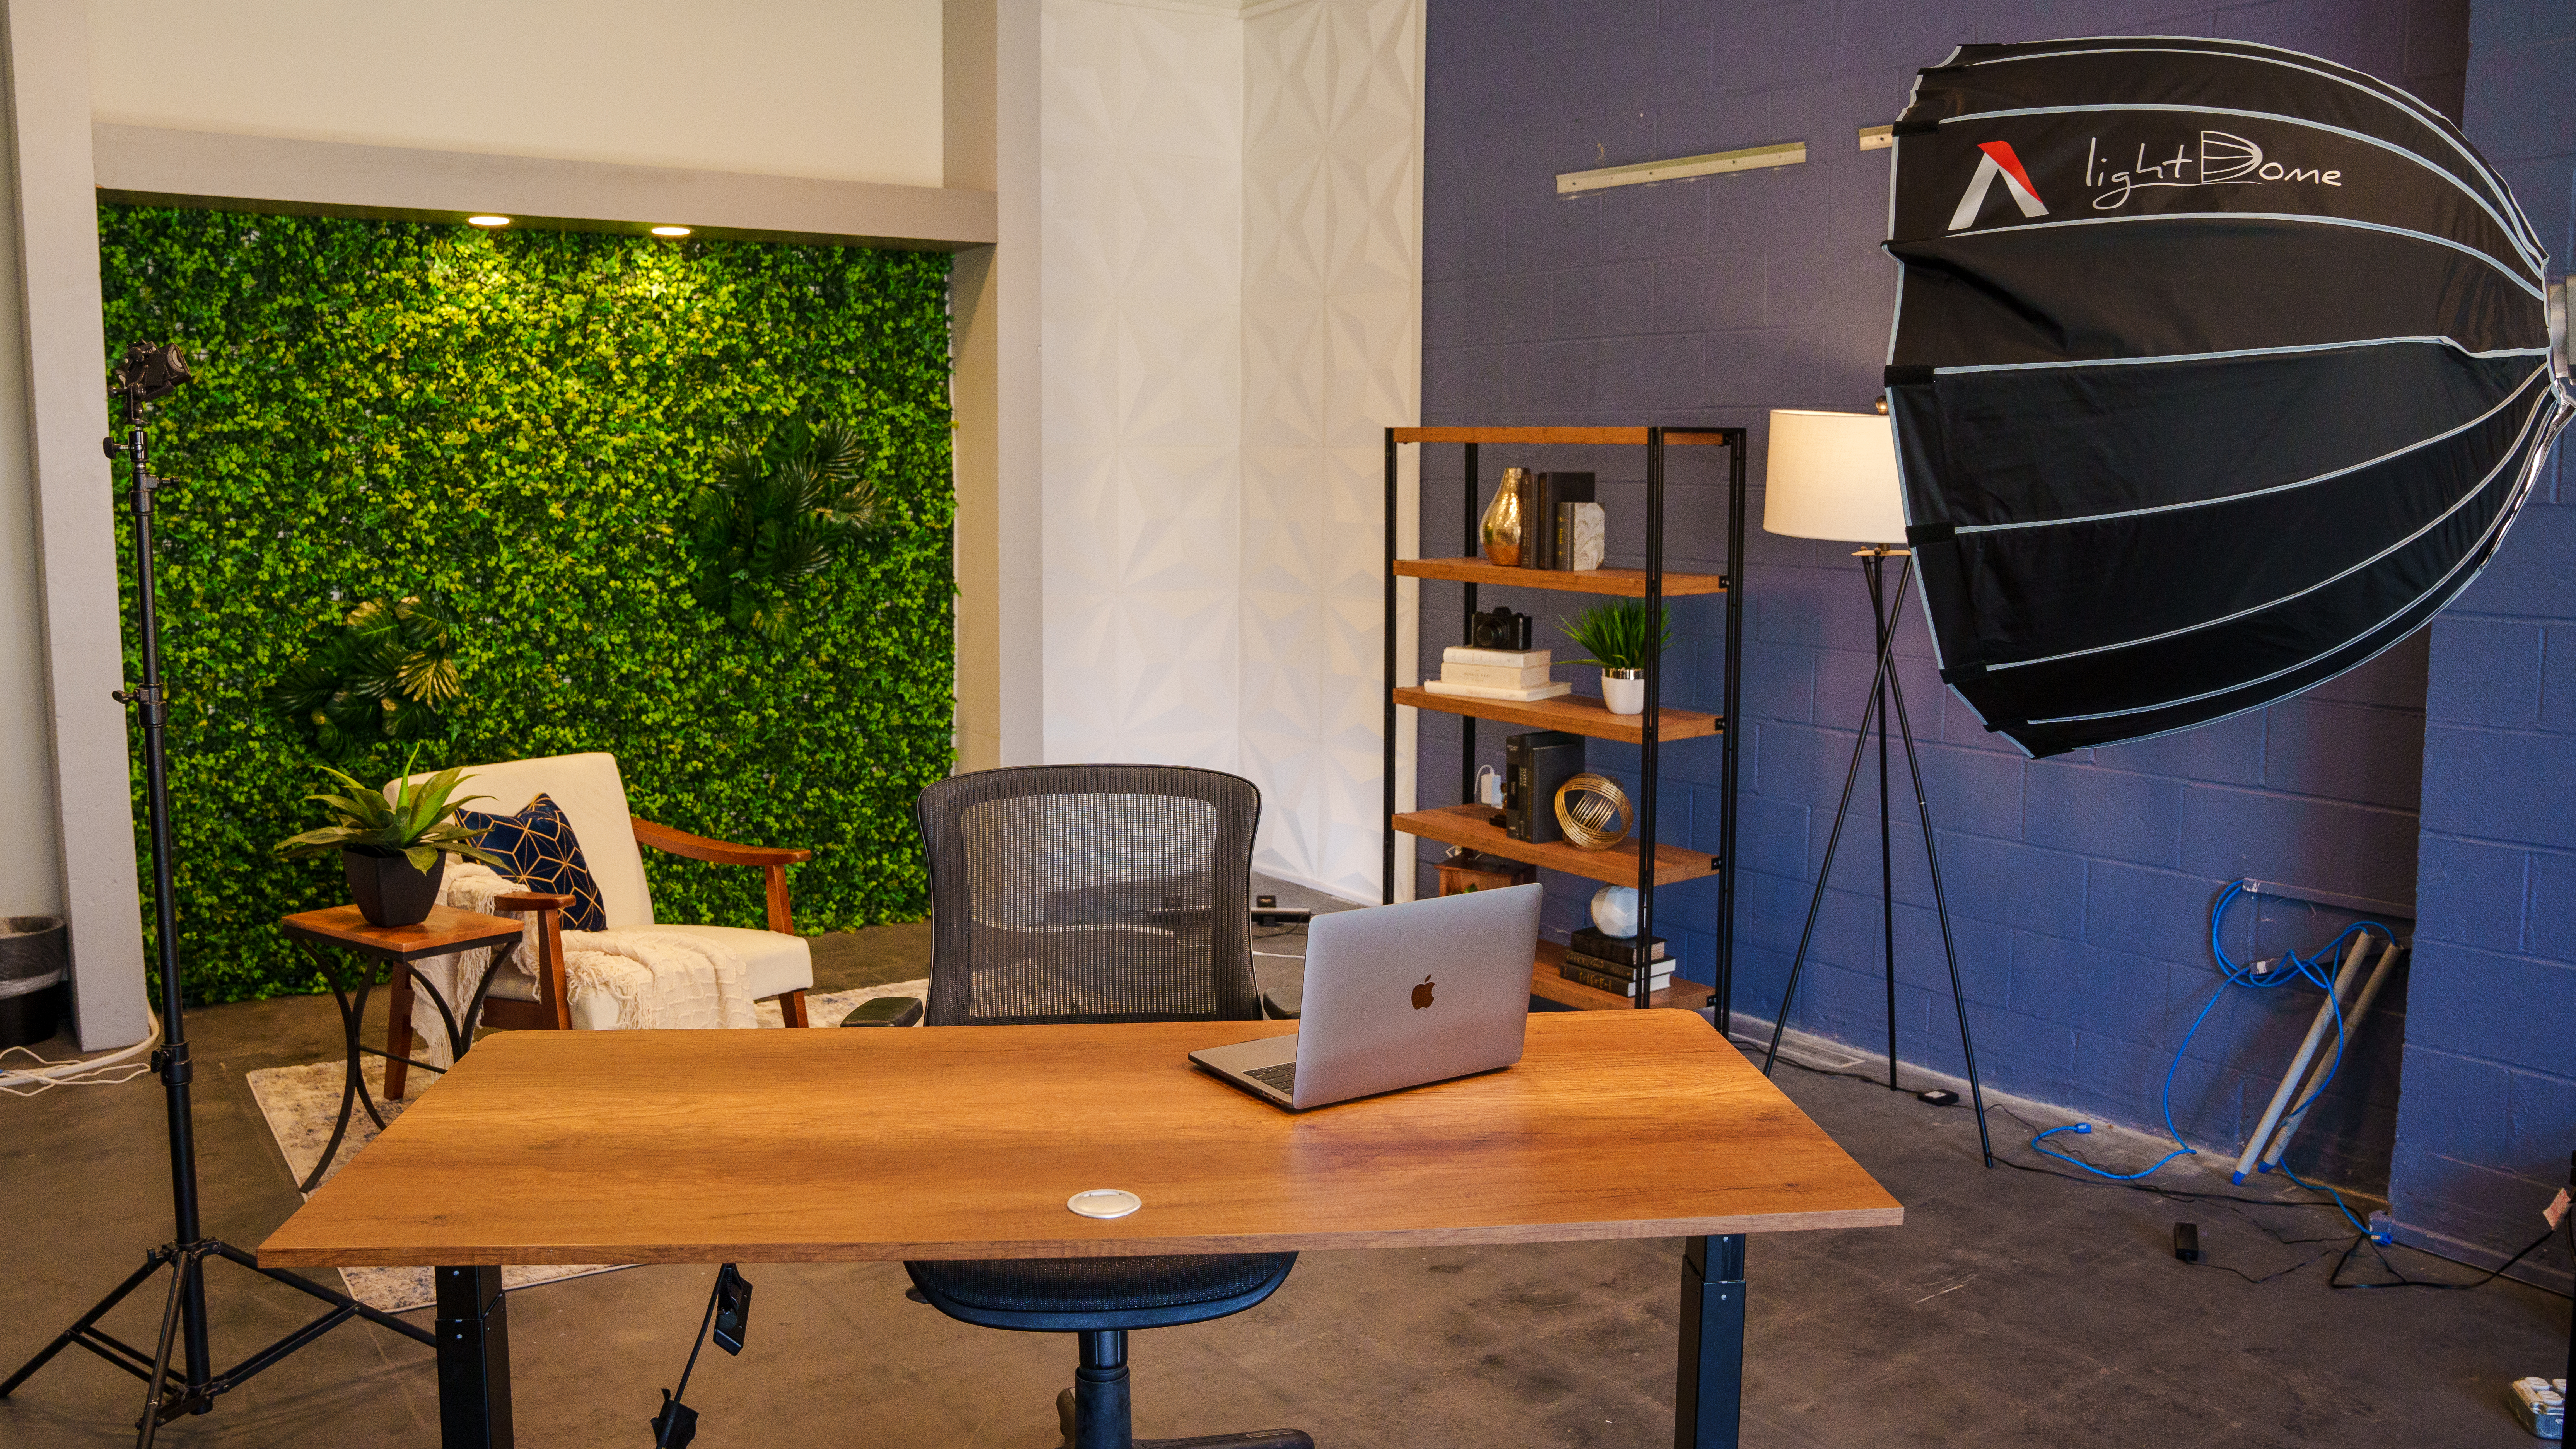
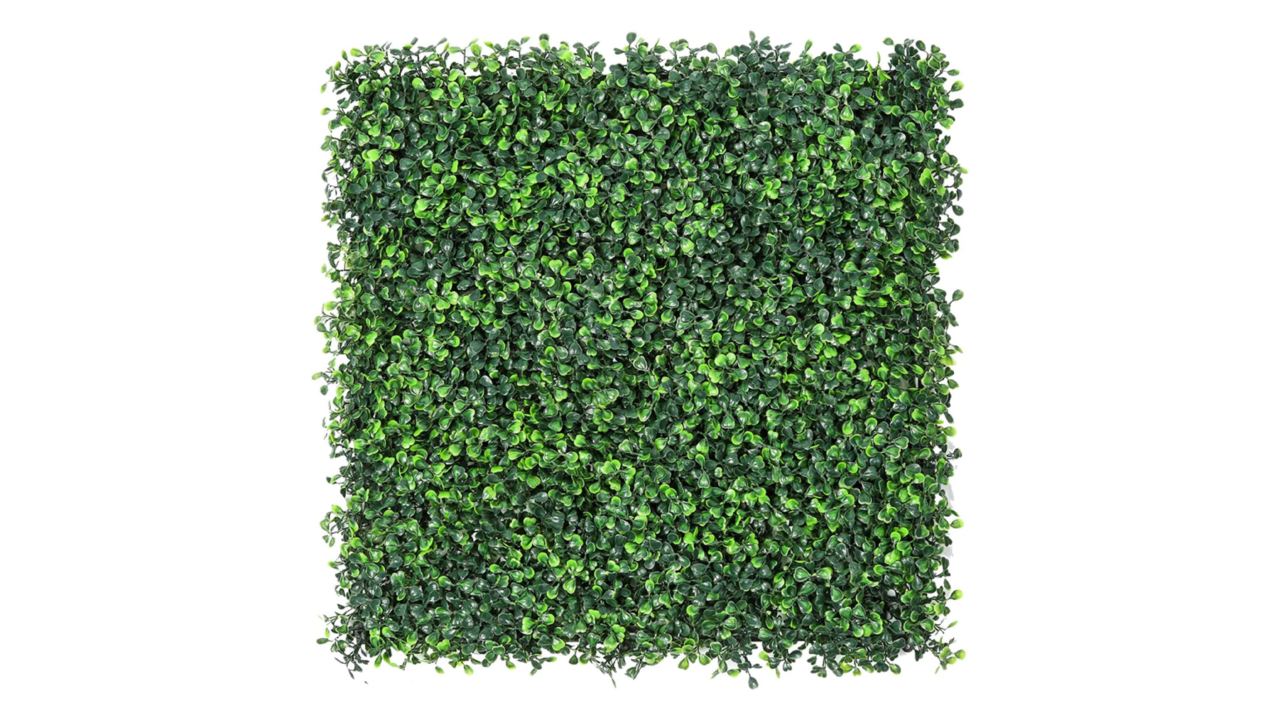
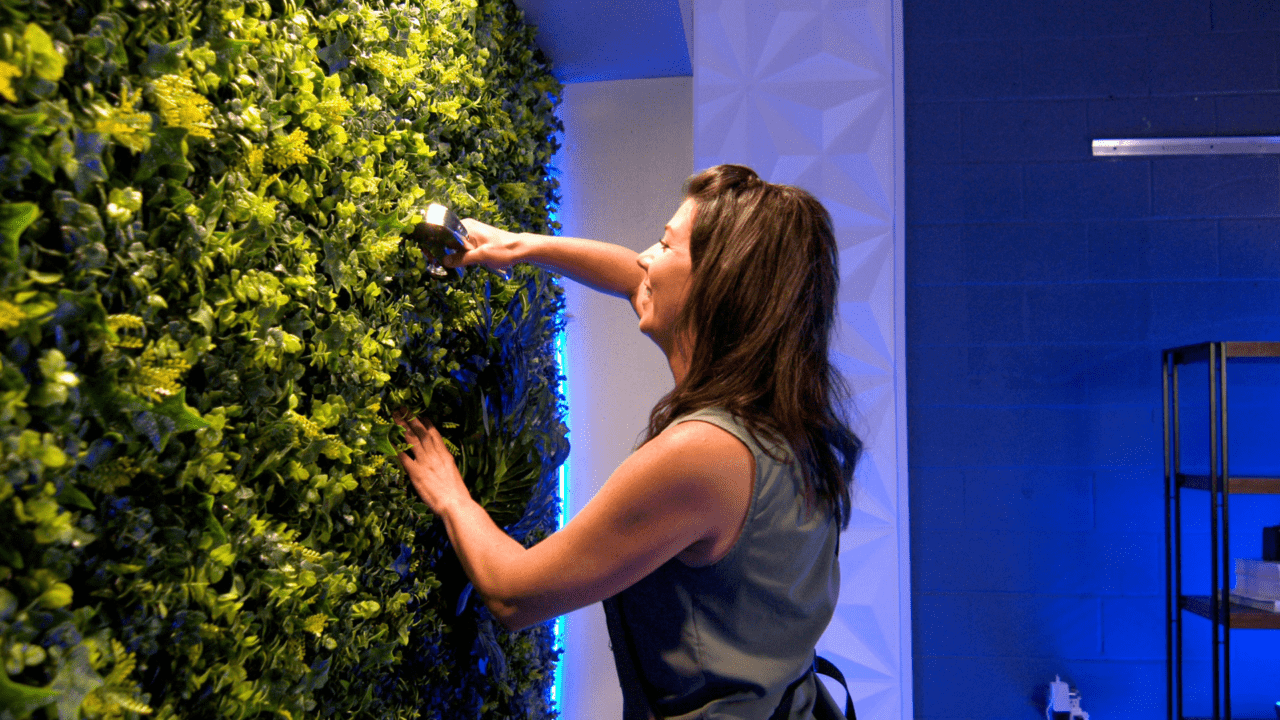
Another option to consider is artificial boxwood panels. You can cover small wall for about $150, and they are easy to remove if needed. Paint the wall beforehand. Lauren recommends a dark color or black background before installing them.

Mid-Ground and Foreground Elements
There are ways to add additional depth to your room by using midground and foreground elements. Furniture is a common midground element that can add some extra “oomph” to your backdrop.
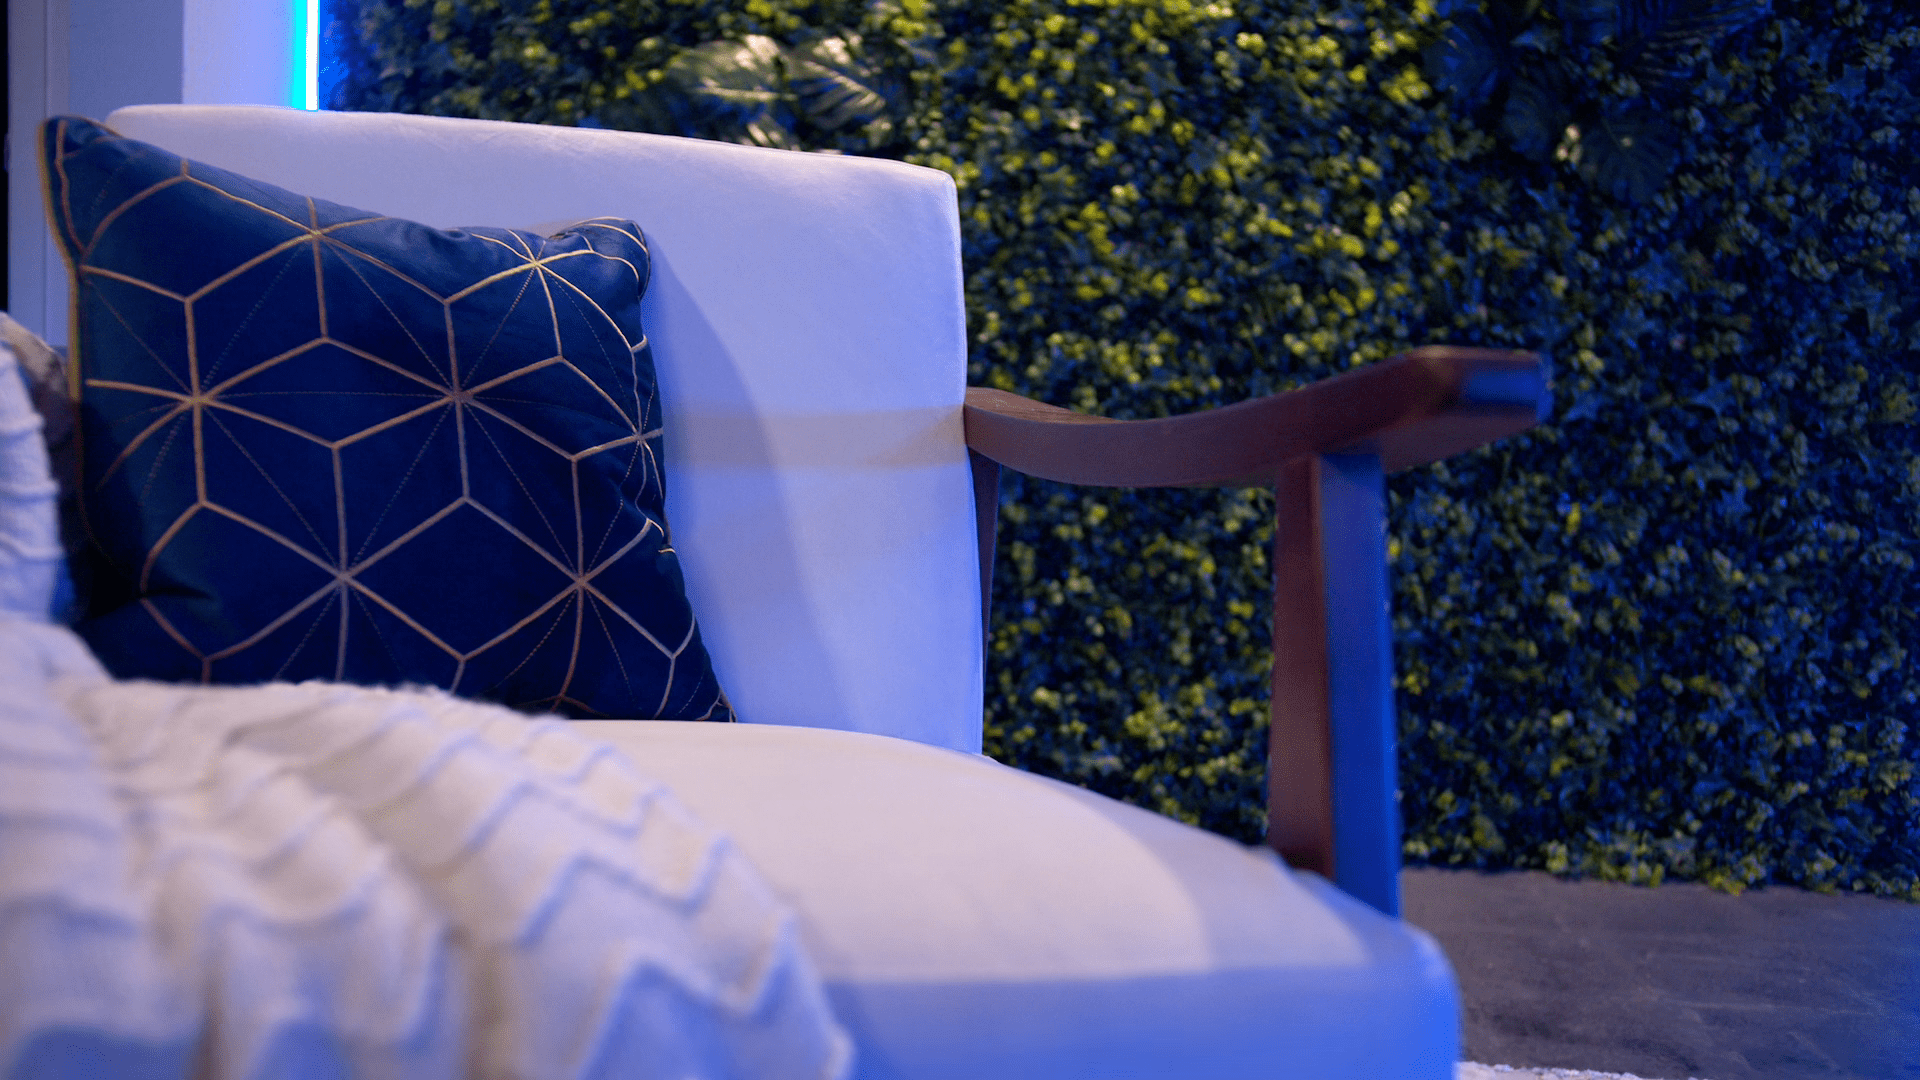
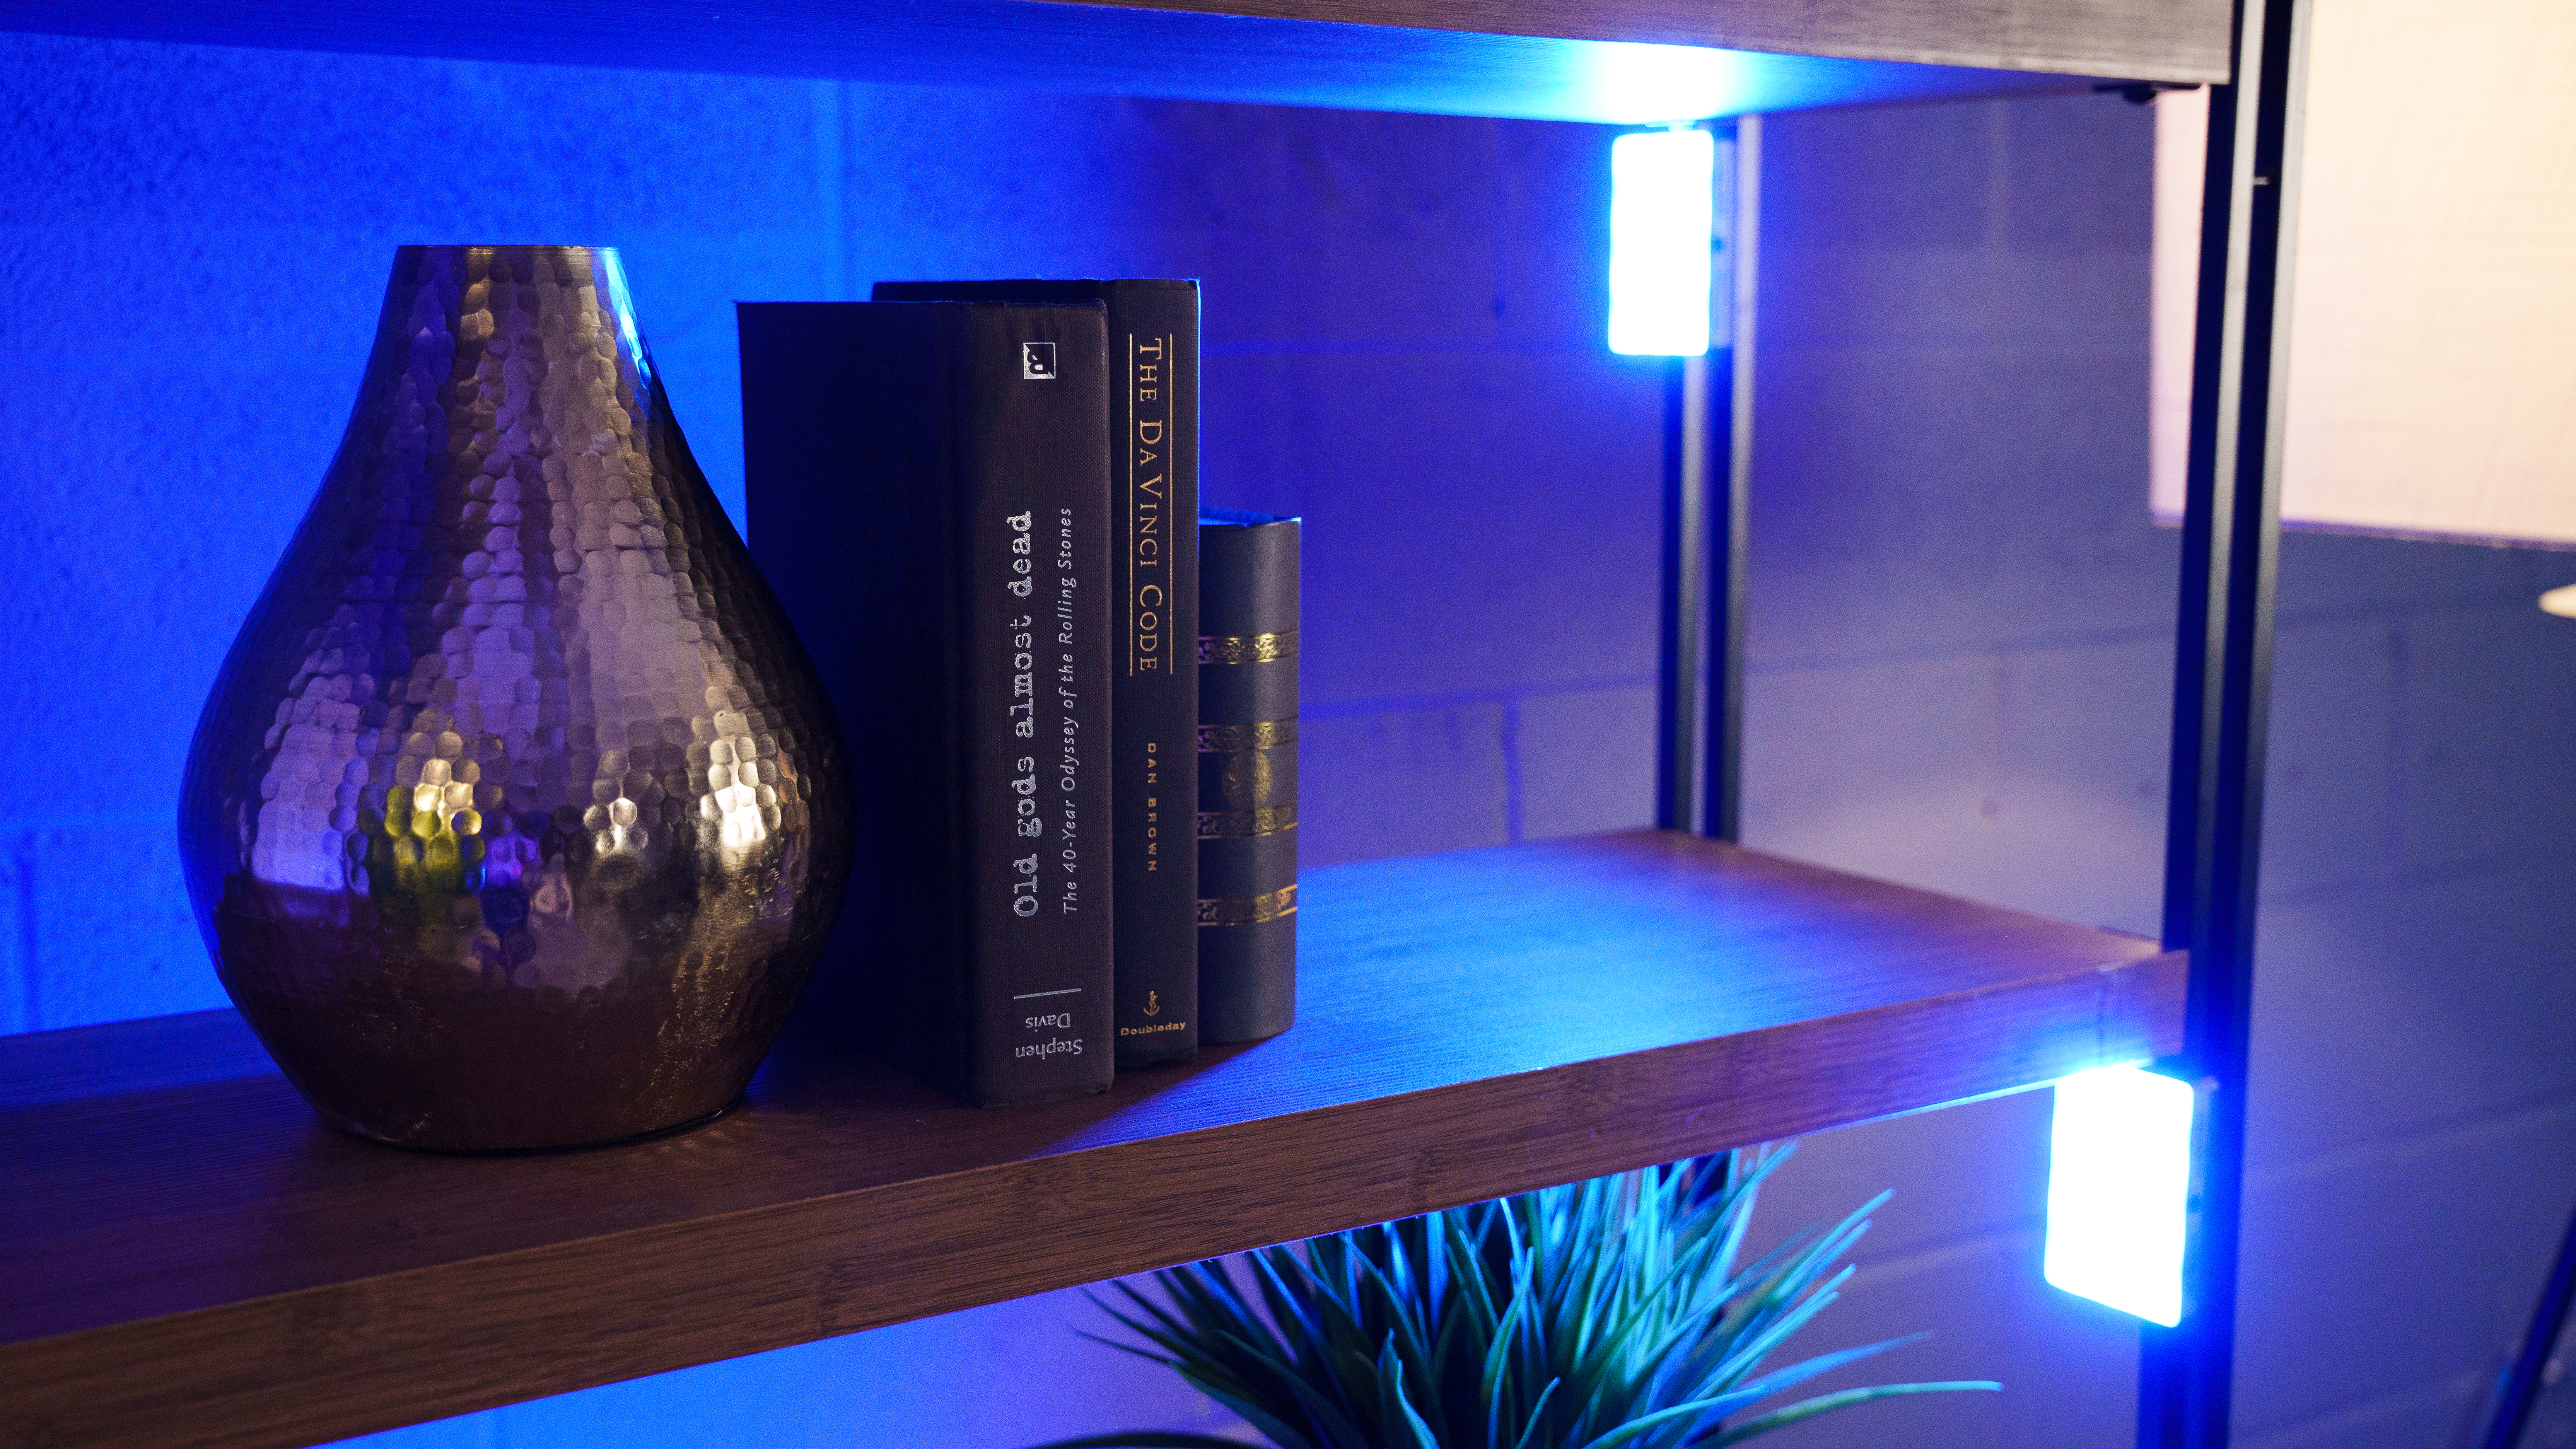
You can use a bookshelf or seating area to create a midground, and if you have the space, you can also use plants, floor lamps, or shelves. These additional pieces and props add branding opportunities and can make your space pop.
You can add small planters with colored vases, pillows, blankets, books, etc. the list goes on. Just make sure they match your branding and overall aesthetic.
Lighting
The final consideration for your DIY background set is lighting, and ensuring your subject (you!), looks good on camera.
How much light you use and what light sources you rely on depends on your content’s mood. Returning to our book review example, you’ll want to achieve a bright, airy look. You’ll want to utilize the natural light from a window and supplement it with additional light sources.
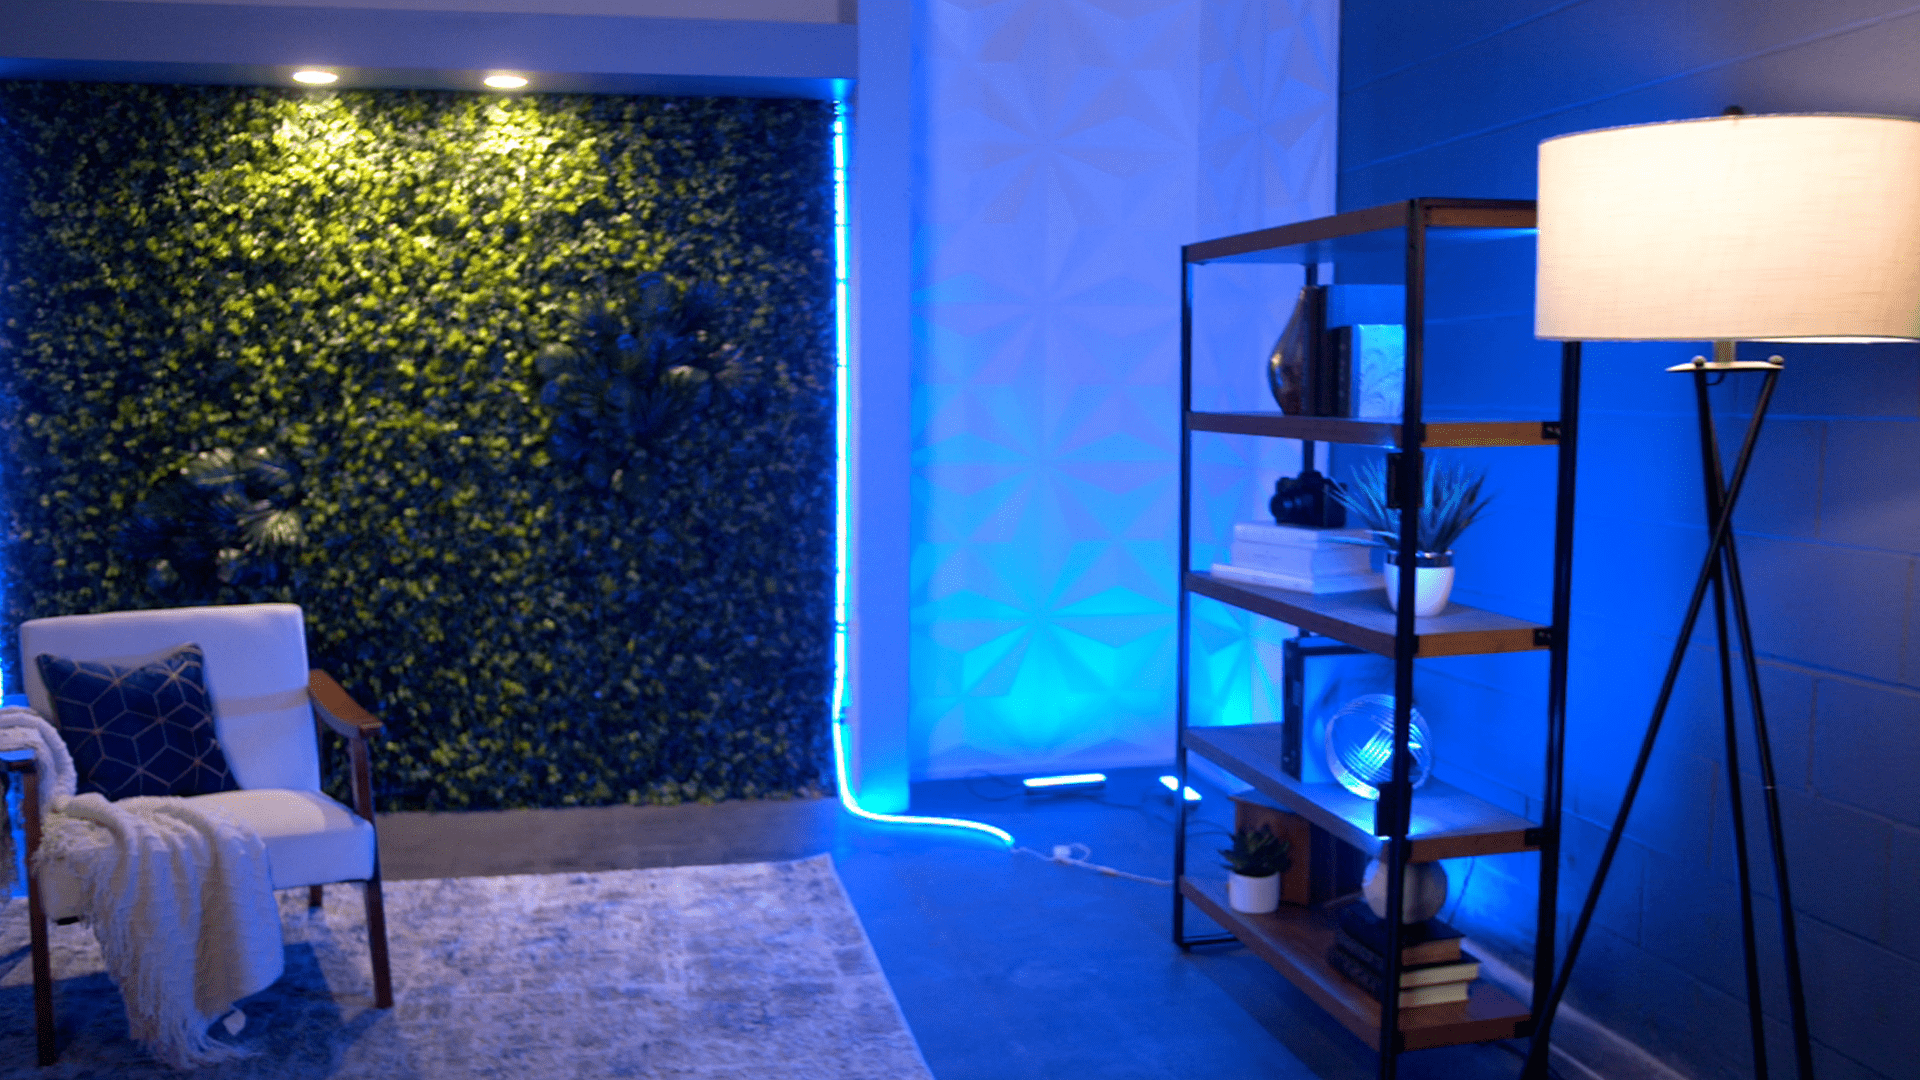
We used artificial lights and LEDs for a moodier look, like the backdrop we created for the video. You can use them to highlight specific areas of your set and create shadows for more depth.
Darker backgrounds are more challenging to work with, but you’ll be rewarded with a great-looking set when lit correctly.
We had practical lights shining down on the boxwood panels for the set we used in our video. By adding a lamp to the other side, we could balance out the natural, practical lighting element in the space. With the items we used on the bookshelf, we used small LED lights to add splashes of color, which added a lot of character to our set.
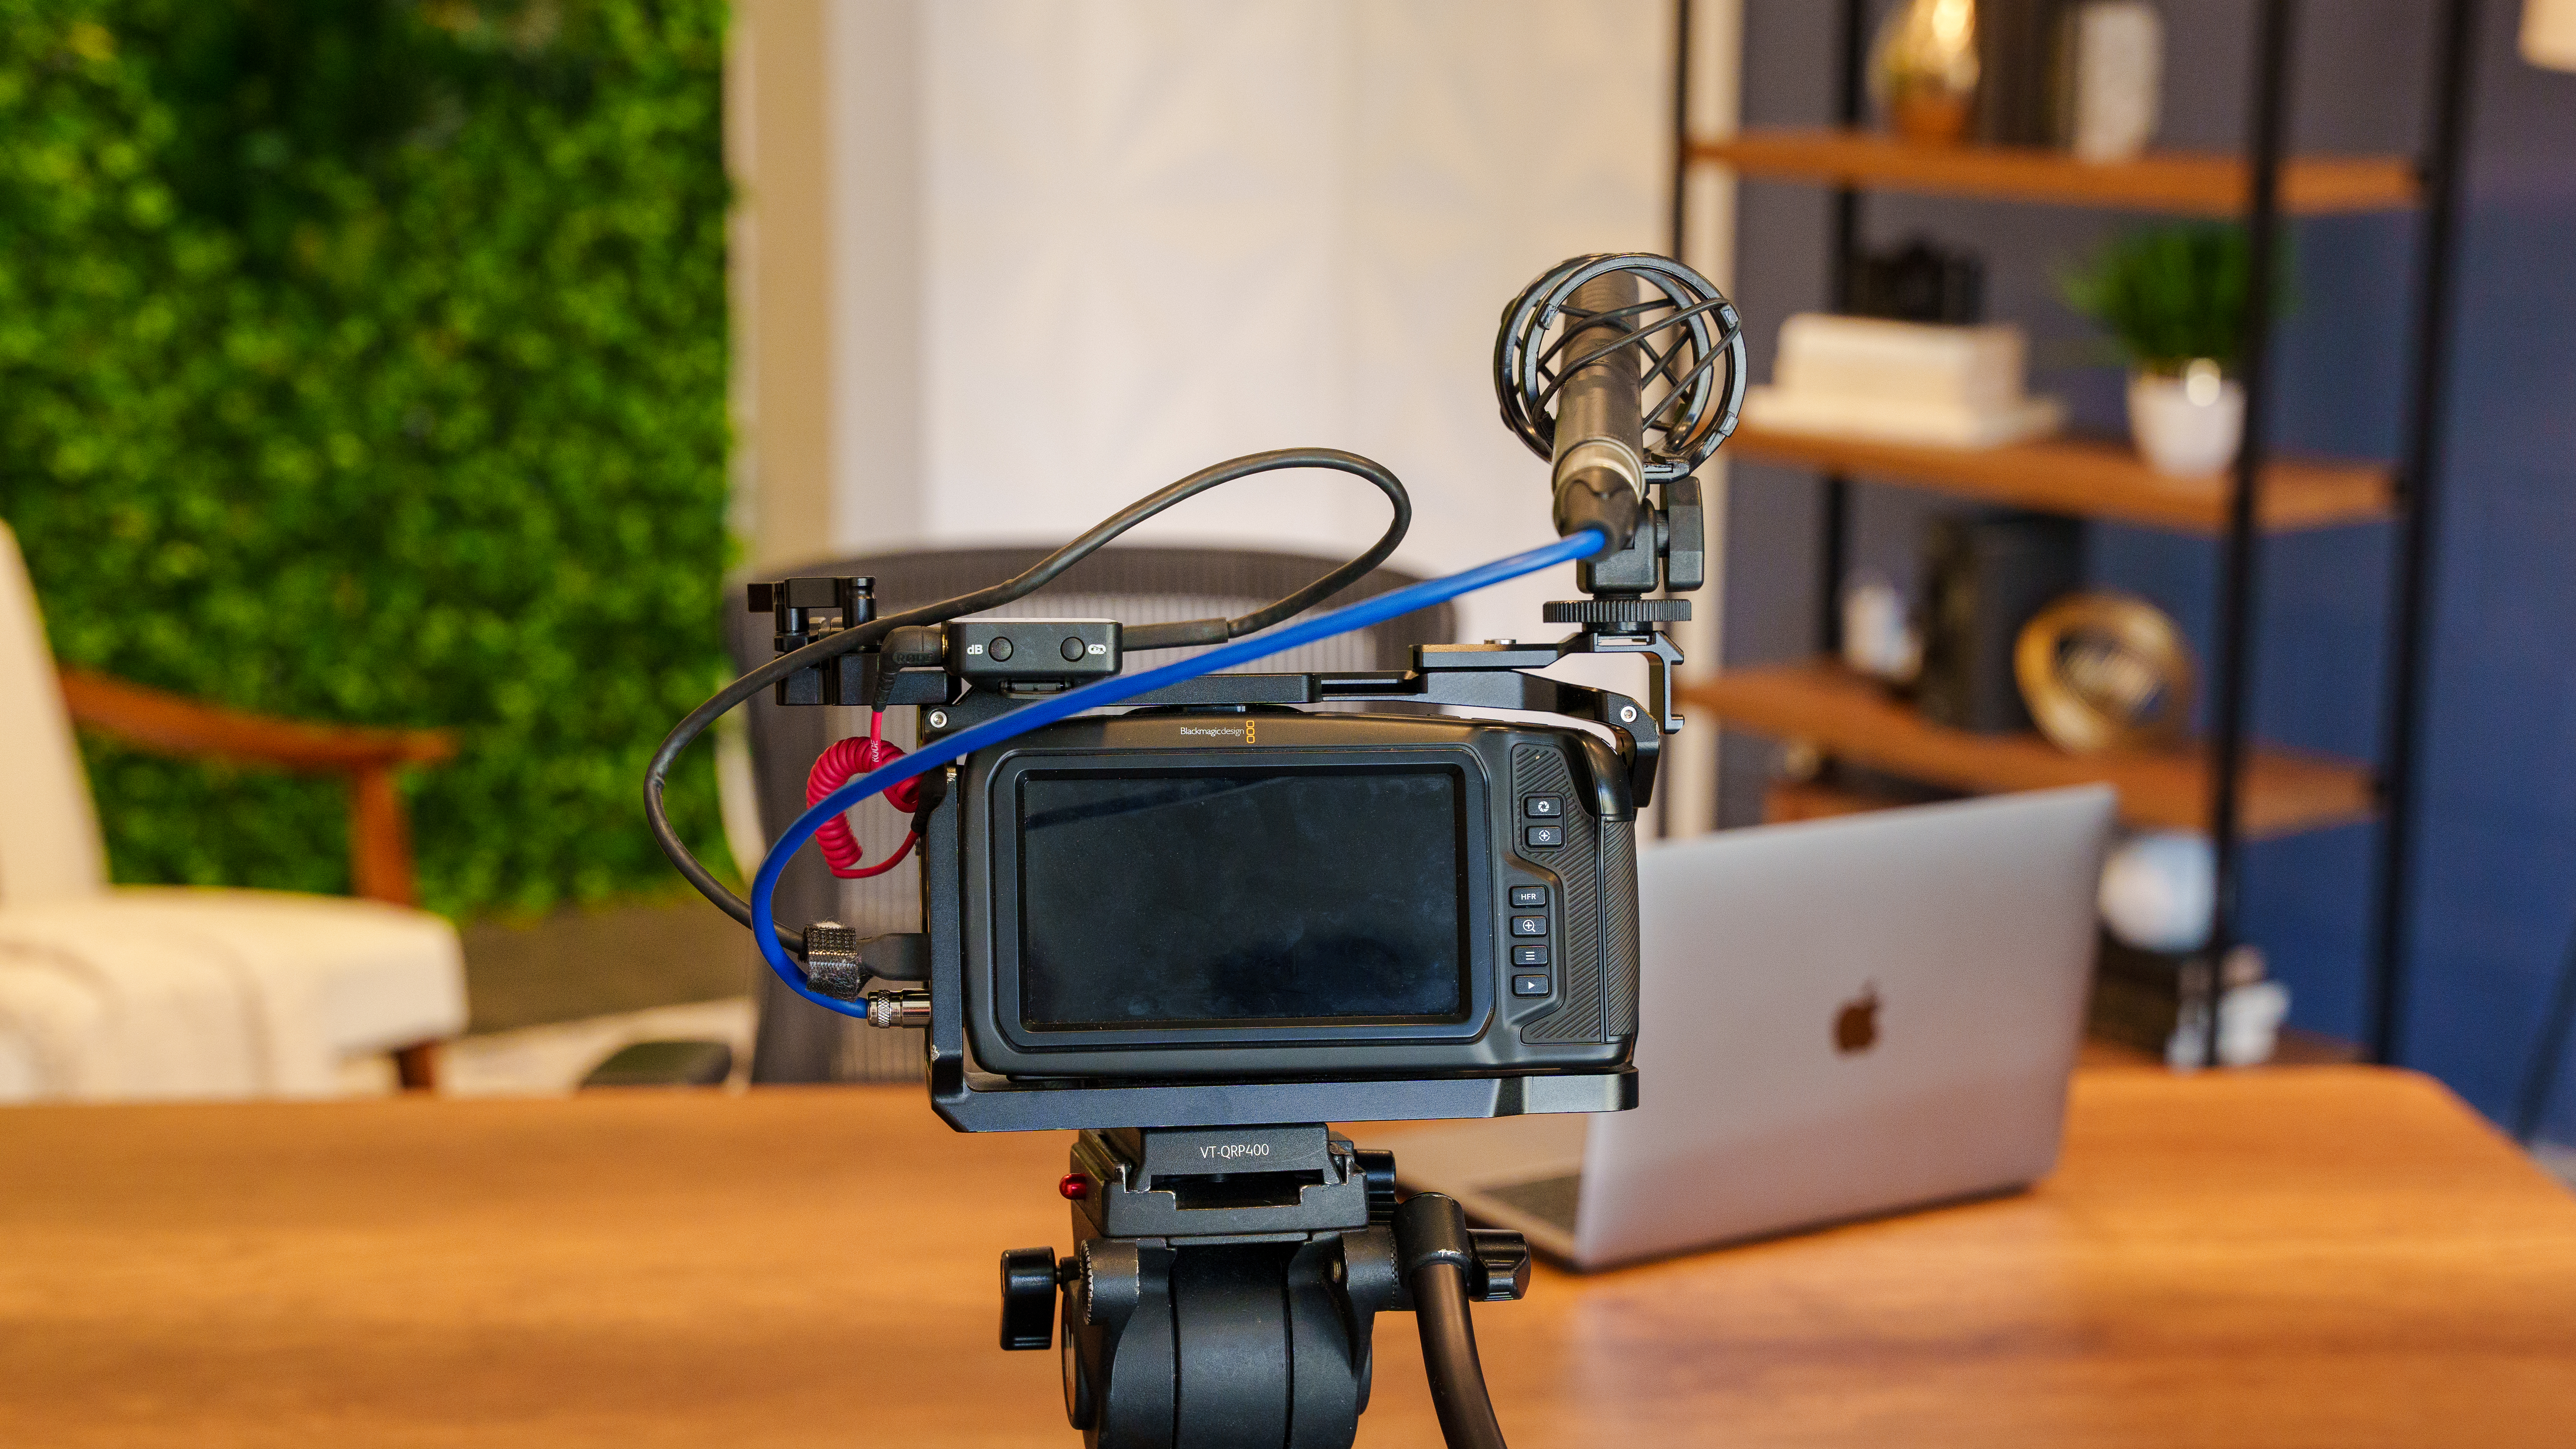
As you adjust light, you’ll be tweaking your set a lot, adjusting furniture and decor to look good on camera. And that’s the key. You want to frame your scene for the camera, ensuring it looks good on the camera monitor. What looks good to the physical eye may not look good on camera.
Creating a professional-looking background for YouTube or Zoom doesn’t have to be difficult. Set designer Lauren Fehlhaber provides four tips for creating a DIY background to kick your content up a notch. Utilize flat paints, 3D panels, artificial plants, and midground furniture to create depth and interest in your set. Pay attention to lighting so that your subject is well-lit and looks good on camera. With a little creativity, you can create a professional-looking background that won’t break the bank!
