The Ultimate Toolkit for Aspiring Set Designers - 5 Tips
Set designers are tasked with creating a set that will support the story and keep the audience engaged. At times, this can be an overwhelming task because there is so much to consider. To maximize your set design and make things easier on you, we put together a list of five set design tips covering the topics of:
– Budget Management
– Building in Layers
– Using Textures and Skins
– Set Dressing and Toolbox
– Reuse and Recycle
Lauren also shares some of the tools she carries with her on set.
Budget Management & Time Restrictions
The most defining factor determining the look of a set comes down to budget, and expectations need to be adjusted accordingly. Price ranges can vary widely depending on the needs of the client.
A kitchen, for example, can range anywhere from $15,000 for a non-working set-piece up to $50,000 for a fully functional kitchen. And there’s size to consider as well.
Thinking outside the box and being creative will prove to be your biggest asset as a set designer, as you’ll be able to match the look of a more expensive set at a fraction of the cost.
“One thing that helped me learn was working closely with my carpenter who fabricates our pieces. Most of the time he would help me think of different materials than the ones I had called out for, which lowered expenses.”
Spending the time to build a set alongside the crew will give you a better understanding of how to put up flats, use seam putty, and paint details. This helps to better stay on budget by providing better estimates of the time needed for each phase of the set-building process.
If on a tighter budget, understanding the set-building process will allow for alternative set lay-downs and better planning to avoid going over budget.
Building in Layers
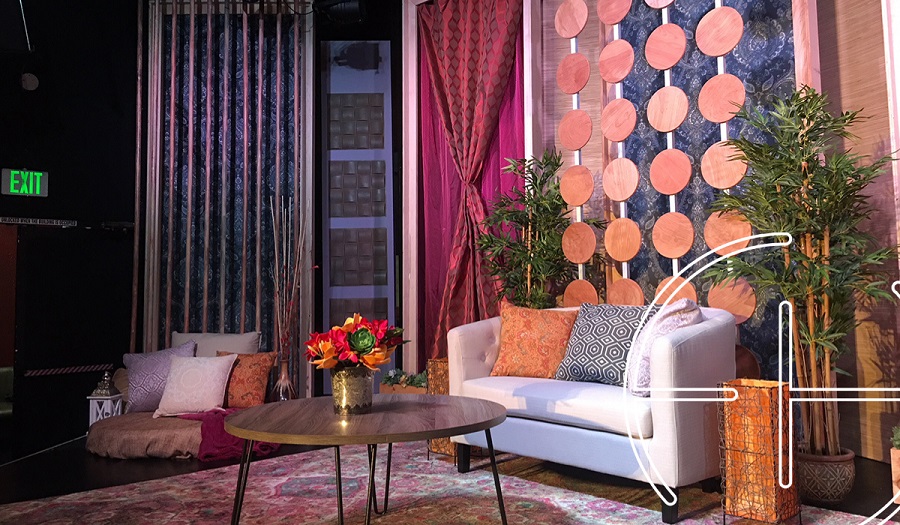
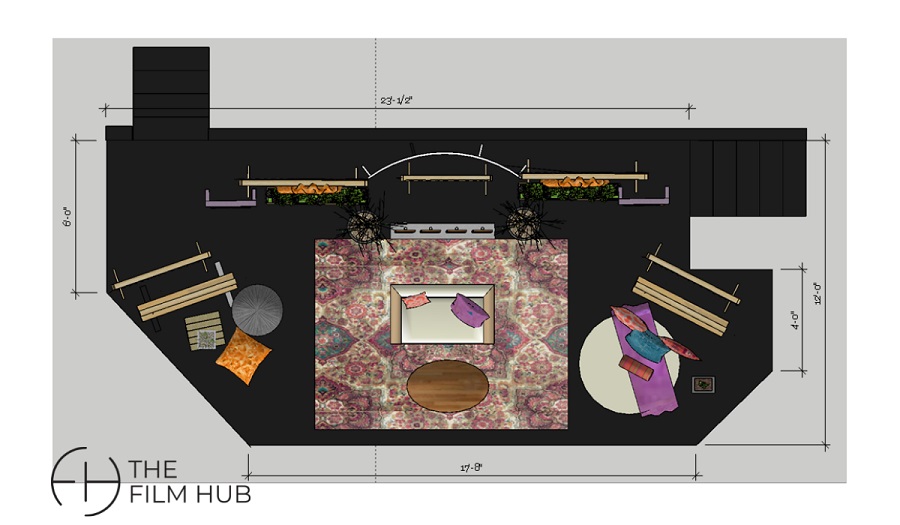
Adding depth or dimension to space will create a more exciting set design that is realistic and great for additional lighting opportunities. Lauren begins by designing the floor plan layout first in order to determine the size and the number of layers she wants to add.
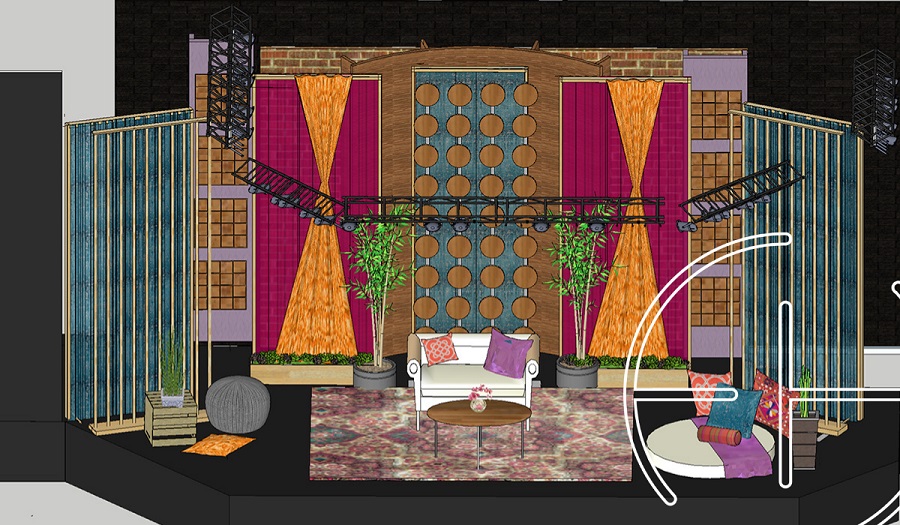
She then focuses on the 3D computer layout and makes adjustments to camera placement based on the foreground and background items to get the best shot.
Even layering with practicals adds layers and creates textures, improving the look of your set.
A good idea is to bring additional layers, such as wall panels or free-standing shelves, when set dressing on location. This will increase the amount of dimension on a set which can be adjusted in the mid/foreground based on camera placement.
Using Textures and Skins
As mentioned previously, creativity is your biggest asset as a set designer. It’s important to look at each product and material you use for your set and develop different ways to use each part.
For example, Lauren can use scrap two-by-fours and turn them into an accent wall or take translucent roofing material and create light columns. Even sculpting with aluminum foil and adding spray paint can increase your versatility without purchasing pre-made sculpted products and materials.
Prefabricated wall panels can be an attractive option for certain productions and can be used as skins, but do be aware that they can be very costly for a budget-minded production.
On-set dressing and tool kit
The goal should always be to make your client happy while delivering an incredible set. For this reason, it’s always important to bring extra set dressings to change things on the fly if possible.
The extra set dressing will allow you to make changes on the fly and will give the client additional options if they do not like something. Items can break as well due to accidents, so having extra glass pieces or vases is always recommend.
Be sure the props match the mood and tone of the scene to ensure proper art direction.
What Lauren carries in her toolbox
Lauren’s key to success is her preparedness. When on set, she carries with her a big toolbox full of goodies that help her make changes and fix problems quickly and efficiently.
She has an array of items in there: Basic everyday tools like a hammer, screw gun, pliers, level, blade, putty knife, and screws and nails. She also carries an assortment of tapes, a glue gun, 3m strips, an industrial stapler, spray paint, Goo Gone, Velcro, and a cleaning kit to cover all of her bases.
Reuse & Recycling
“I believe in reusing materials and set pieces as much as possible; if I think I can use a set-piece again, I will put in the extra effort to keep it.”
After a production, many set pieces are thrown out. If you can justify reusing items again in the future, consider saving some of these pieces.
Important pieces include set dressing items like flowers & plants, fabrics, and decor, which are very versatile and can be used across different sets.
If you choose to recycle, an important consideration is the cost of storage and the amount of time spent in moving pieces.
Productions need to set an art department budget for set dressing rather than expecting crews to buy and return items. A risky practice many set dressers partake in includes returning items after a production. This practice should be avoided, as any damage to an item will prevent you from returning it. Also, a lot of places charge a restocking fee.
Time is money, and it’s best to avoid this practice.
Lauren’s actionable advice to get into the industry
– Learn to work well with others, especially under stress and pressure – expect 12 to 14-hour workdays
– Be kind and respectful to others. This will make others want to work with you
– Try to be on set as much as possible and observe every department. As a production assistant, find a position that you would like to do.
Sometimes we get stuck or held up on our beliefs of what we are capable of.
Think about what you would do in life if you knew you absolutely could not fail? Whatever that answer is, take a leap of faith and just do it.
Are you looking for space for your next production? Check out our stages and set rentals to help you create a great production. Schedule a tour and see if The Film Hub is the right fit for you.


