Good stories are built around attention to detail and drawing the viewer in. The setting you create for your story should be captivating, but not distracting.
Whether you are choosing an on-location standing background, a studio talking head, building a set, or compositing a background from a green screen, a great background will make all the difference and will help elevate your work.
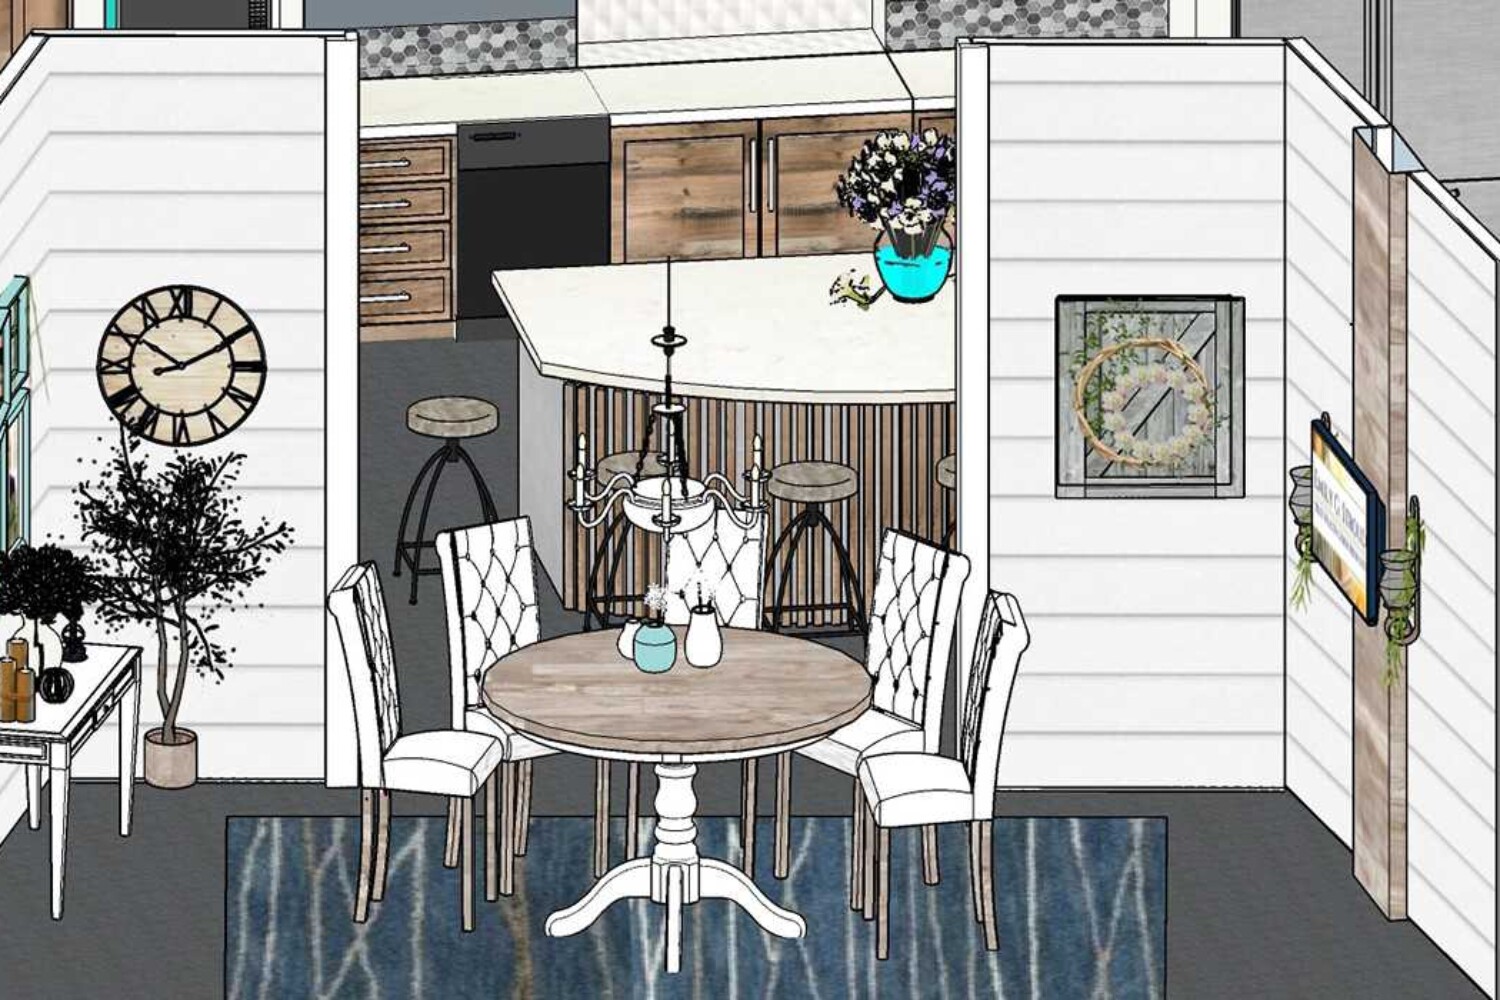
What is set design and set rentals
Set design is all about bringing your environment to life, and drawing the viewer into the story you are trying to tell. A good background draws people in. It highlights your subjects and talent, rather than distract from them.
There are many factors to consider when planning and laying out a set. Understanding how different elements come together will make your video shoots better. Proper set design will help you create the right tone and mood for your scenes.
Here are 10 things to keep in mind to better tell your story with a background.
1.) The quality of your background matters
Using a 4K camera allows you to capture more details in your shots. As camera quality gets better, it becomes harder to hide poor backgrounds.
If you’re deciding between building a set or using a real location, look at your budget and weigh out your options. If you’re choosing to build a set or put up a quick background for your videos, make sure it’s done right. The background will become a huge distraction for your audience if poorly executed. While the content may be good, they may become disengaged with a poor background.
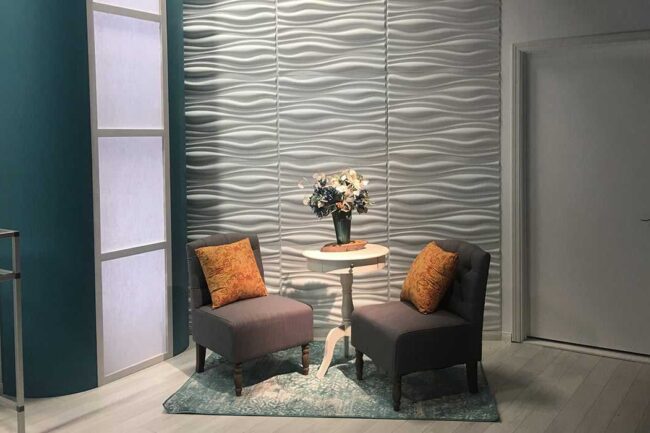
Whole productions have failed before they even got started due to budget-conscious decisions. In attempts to save money, productions have used poorly built sets they made themselves. Prefabricated wall skins and decorative panels are a great way to get quality designer backgrounds. They can easily be installed on walls or flats (set walls). There are many fun options in a variety of designs, colors, and textures to choose from. They can also impact the way you light your scenes, which we’ll touch on in a bit.
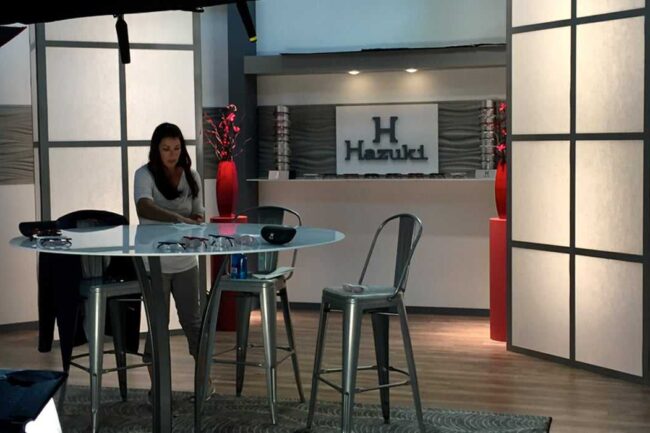
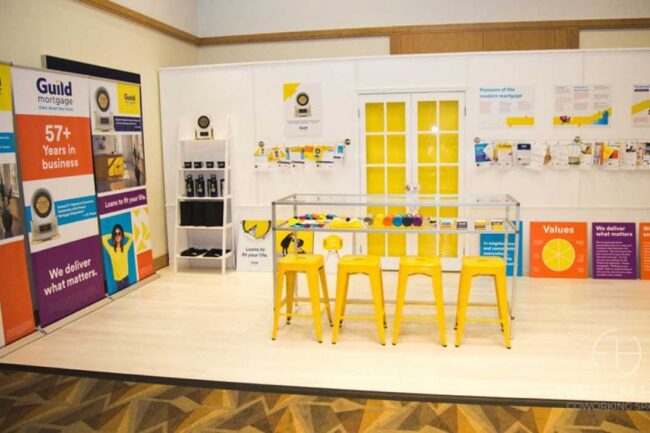
2.) Choose the right colors for your background
Color is very important when branding a show or product. You need to choose colors that match or complement the current branding of the company or product you are shooting.
In today’s world, natural, clean, and fresh colors are trending. You can add splashes of color in accent panels or decor in your sets, which add great design without bringing the focus too much to the background.
If you are doing product shots, decide what is going to compliment the product to better help show it off. If talent is on screen, their wardrobe should be complementary to the color of the background. If the colors are competing, it will distract the audience and make them uncomfortable.
3.) Move your talent away from your background
One of the biggest mistakes made when shooting videos is putting talent right up against the background. It does not matter if it’s a set, a wall, or a cyclorama, try to get talent at least 8 feet from the background if possible.
Having space between your set and talent helps shorten the depth of field and will put your background more out of focus.
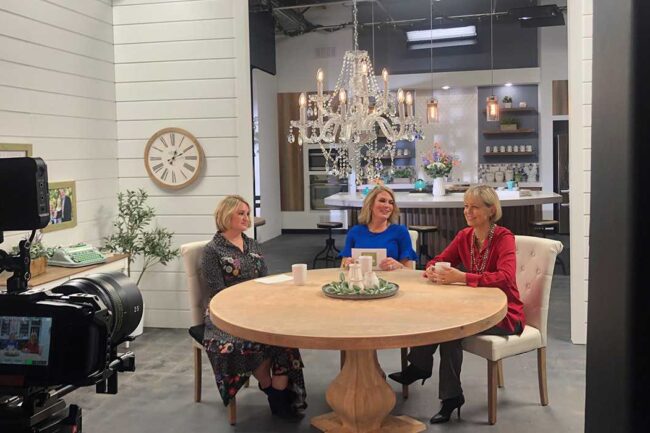
4.) Lighting your background and sets
Proper lighting brings your video to life. Improper lighting can quickly cause you to lose texture and color vibrancy in your set.
Even if you do not have the greatest backgrounds, you can add light design touches and texture using gobos.
Lighting can help change background colors easily for different looks. Designing with white wall panels makes it easy for the gaffers to change the look and feel with soft colored lighting.
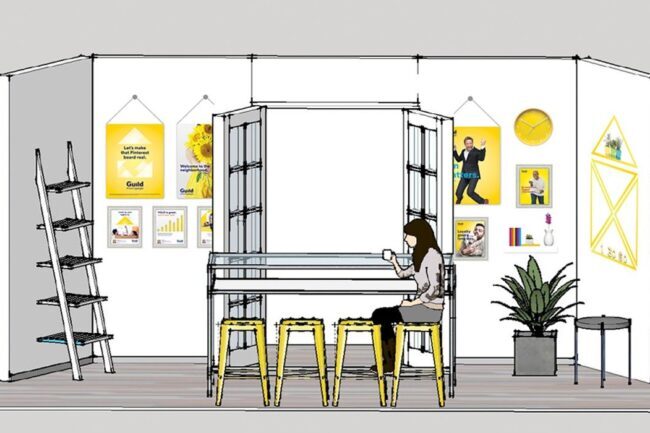
5.) Layers to add depth and texture
Adding more layers helps add depth to your scenes and increases the quality of your shots. Add panels or set pieces between the foreground and background to increase visual separation and capture more interesting shots.
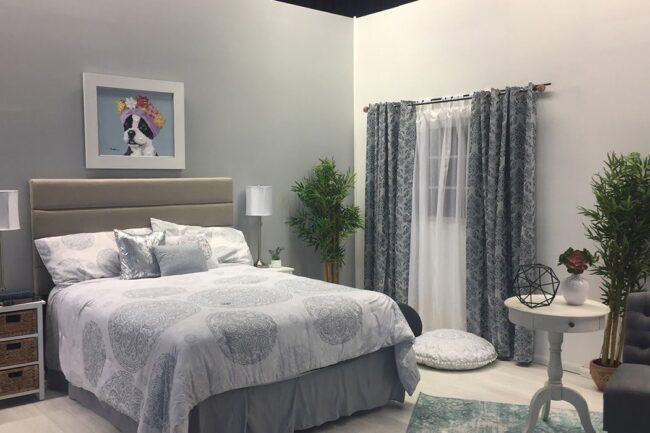
6.) Background elements and set dressing
There is a fine line on how much you need to dress your set. It’s easy to go overboard and add too much to a set, making it look cluttered and busy. On the other hand, a minimal approach can make your set look like an afterthought and not realistic.
Set dressing is an art, after all. Only add different size elements and pops of color if it adds value to your set. Choosing 3 colors is a great baseline to work with so that your set is cohesive and not overpowering.
7.) Positioning of items on camera
Use your camera monitor to figure out how to adjust and turn furniture and items to make them look good on camera. This could be challenging if you are doing multiple camera angles, with chairs and decor on foreground tables overpowering the focus.
Place items so that they will look good on all cameras, not just the main one.
9.) Purchasing furniture and decor for your shoot
When you’re budgeting in furniture and decor, do not forget about the extra time needed to put together furniture.
If you’re not sure where to buy your furniture from, consider using a platform like Wayfair. They have free delivery, their furniture is easy to install, and items can be quickly put together.
For quick set dressing, Ross is a great option for cute items at a low price. Time is valuable and finding items quickly and reliably will save you a lot of time.
The decor you use does not necessarily have to be high quality when used for a set. It’s all about how you use and incorporate the items you buy.
Try not to return items after you used them in your video production shoots. This is a very bad practice the industry does when there is not enough money in the budget. If you are not planning on keeping them, sell them, or use a rental house instead.
10.) Virtual sets and set extensions
Virtual sets and set extensions have been on the rise, but they may not be the best option for you. Virtual sets require special knowledge in order to make them look good. Unless you know how to light a green screen and your talent properly to composite in a virtual background, do not do it! It could end up costing you more money than a traditional set if done incorrectly.
Using virtual sets is best reserved for set design experts. Virtual sets can be huge money savers when done correctly. A great practice to consider is combining digital with real elements. Using a real floor, tables, chairs, or columns can help your virtual set feel more realistic. A locked-down camera is best for this to avoid tracking. Stay away from reflective surfaces when compositing.
Conclusion
The right background and proper set design will help you create captivating video shoots. Saving money and trying to do it yourself can be risky, but with these tips and suggestions, you can create a professional set for your own video shoots.
Don’t have the time and resources to create your own backgrounds and sets? At The Film Hub, we rent out and create different sets to match the needs of your video shoots. Whether you need something more laid back to match the vibe of a calm café, or you want a more upbeat set to go with your techie video shoot, we’ve got you covered. We also have two sound stages that are perfect for shooting your next webinar or commercial.
Give us a call and ask about our set designs and rentals.